Configuring blob life cycle management
The following exercise will demonstrate the configuration of blob life cycle management:
- Navigate to the Azure portal by opening https://portal.azure.com.
- Go to a storage account and create a container named demo.
- On the left menu, underData management, click Lifecycle Management. Click + Add a rule on the top menu.
- Enter CoolToHotTiering as the rule name, and change Rule scope to Limit blobs with filters. You can leave Blob type as Block blobs and Blob subtype as Base blobs. Click Next.
- You will note that the Base blobs tab will present a conditional statement (if.. then) for the blobs. Based on a time interval, an automated action can be performed. For the More than (days ago) field, enter 1. For the Then field, change the drop-down option to Move to cool storage. Note that to apply multiple actions for a rule, you can click + Add conditions. Please click this now. The condition you have just configured basically applies as follows: for blobs that are more than 1 day old, automatically move them to cool storage.
- For the next conditional block, enter 1 in the More than (days ago) field, and select Delete the blob for the Then dropdown. Click Next. Click Next again. The condition you have just configured basically applies as follows: for blobs that are more than 1 day old, you then automatically delete the blob. The way it will work is that blobs more than 1 day old in the preceding step move to cold storage, and blobs that are a further 1 day old in cold storage are deleted.
- The Filter set tab allows you to define a blob prefix for filtering a subset of blobs. In the Blob prefix field, enter demo/pic. Click Add.
You have now created your first life cycle management rule. Next, we will explore how to implement a life cycle management policy using JSON code.
Life cycle management policy deployed as code
At times, it may be desired to implement your policy as code, especially where the reuse of policies is applicable. This approach drives better consistency and reduces the likelihood of errors:
- Navigate to the Azure portal by opening https://portal.azure.com.
- Go to a storage account and create a container named demo.
- On the left menu, underData management, click Lifecycle Management. Click Code View.
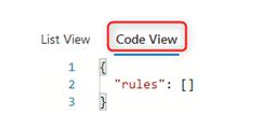
Figure 7.39 – Code View
- Modify the following JSON code to suit your deployment. The current file code reads as move any blob to cool tier if the period since the last modification is greater than 1 day. It will match this to the files container:
{
“rules”: [
{
“enabled”: true,
“name”: “move-to-cool”,
“type”: “Lifecycle”,
“definition”: {
“actions”: {
“baseBlob”: {
“tierToCool”: {
“daysAfterModificationGreaterThan”: 1
}
}
},
“filters”: {
“blobTypes”: [
“blockBlob”
],
“prefixMatch”: [
“files/log”
]
}
}
}
]
}
- Copy the modified code in the preceding code block into the Code View section on the Azure portal and click Save.
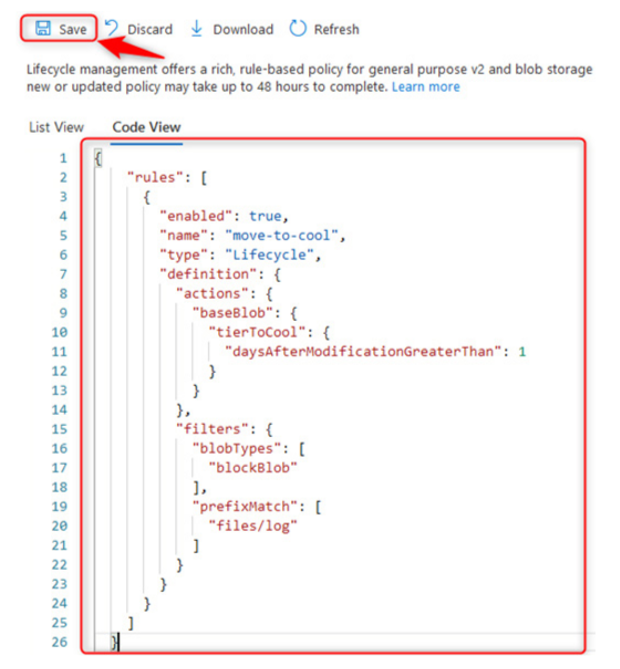
Figure 7.40 – Blob life cycle management – Code View
You know how to configure the life cycle management policy using JSON code. In the next section, we will explore the ability to disable and delete the rule.